The SmartBody distribution comes with its own application/renderder and toolset called sbgui. This file is located in the /bin directory (if you have downloaded the source code from SVN, it is located in core/smartbody/sbgui/bin after the sbgui project is built). To run SmartBody within an existing game engine or other framework, please refer to the section on Integrating SmartBody With a Game Engine.
How to Use sbgui
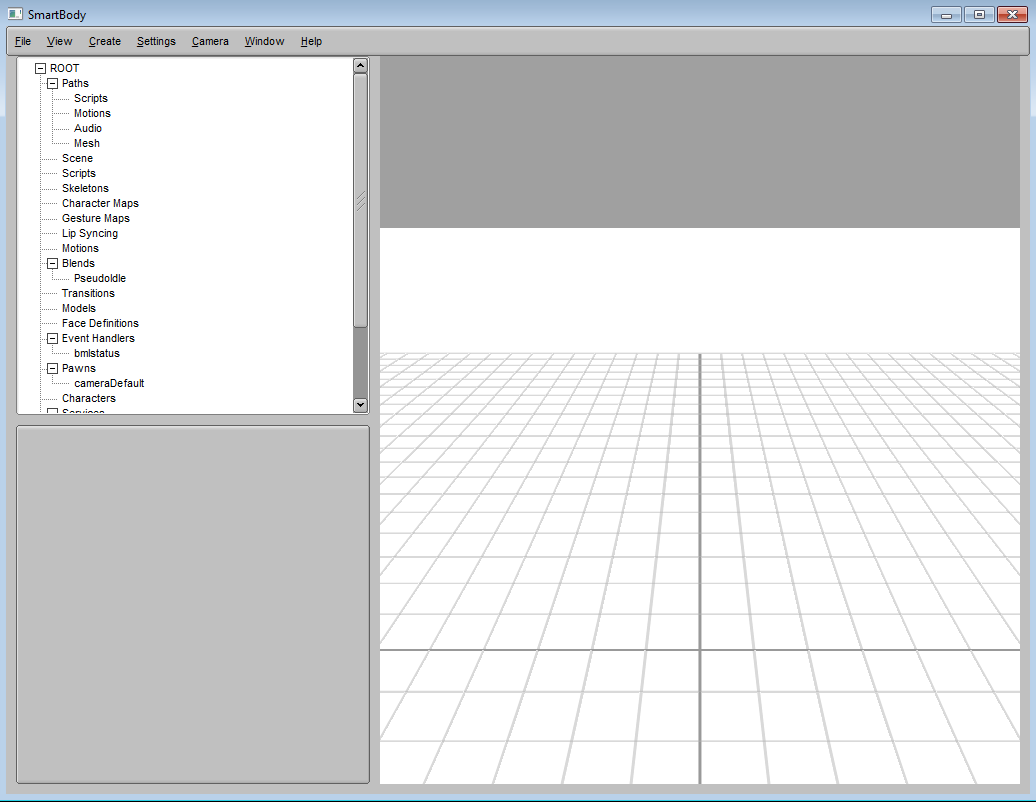
By default, the sbgui application will open showing an empty scene. The right side of the window contains a view of the 3D scene, the left side contains a list of objects in the scene, and the lower left corner contains attributes associated with selected objects.
Quickstart
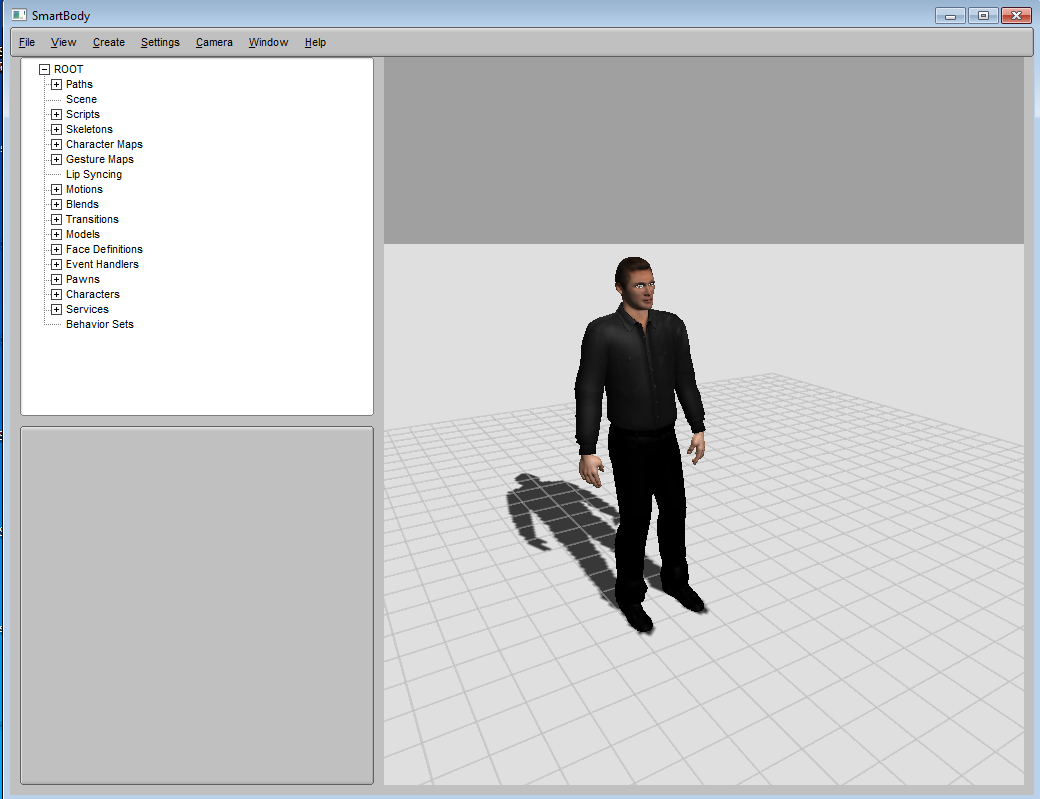
Choosing "File->Load from script" and then selecting a Python file (.py) will run the contents of that script. There are many example applications located in the examples/ directory that can be tested and experimented with.
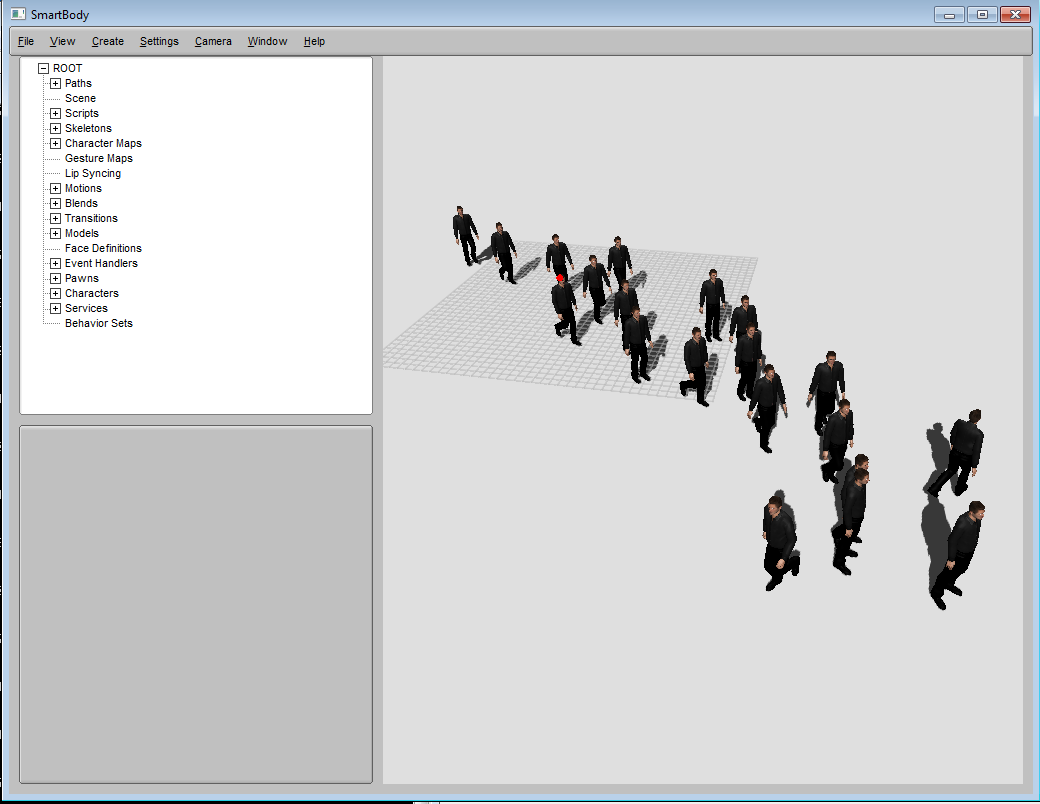
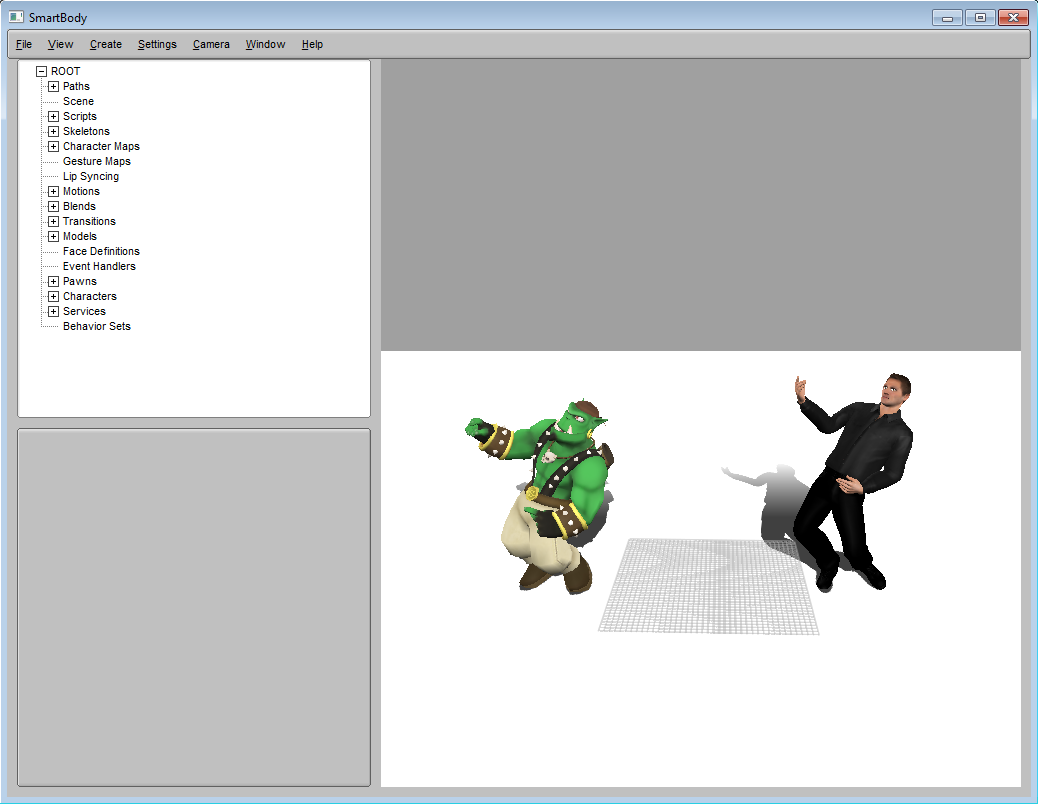
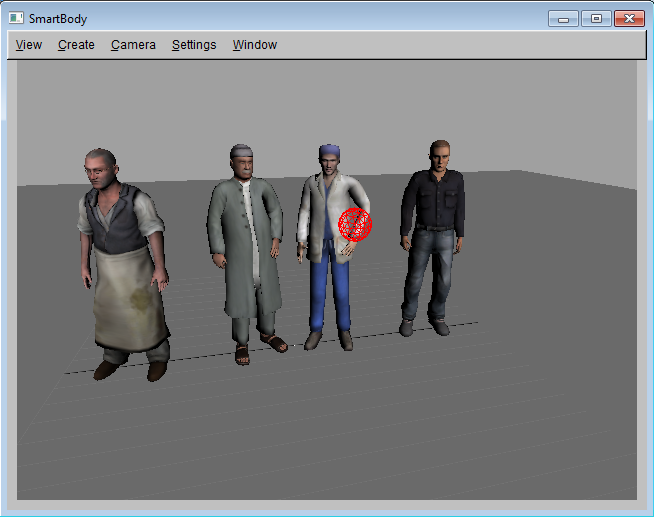
(Above) Some example scripts showing characters, crowds and online retargeting.
Sample Scripts
| Demo | Description |
|---|---|
| AddCharacterDemo.py | Example of creating a single male character using one of the default SmartBody characters, including most of SmartBody's capabilities such as speech, facial animation, locomotion, reaching and so forth. |
| AddCharacterDemoRachel.py | Example of creating a single female character using one of the default SmartBody characters,including most of SmartBody's capabilities such as speech, facial animation, locomotion, reaching and so forth. |
| BlendDemo.py | Example of using motion blends (combinations of animations that are blended together based on a parameter.) |
| ConstraintDemo.py | Example of using (positional or rotational) animation constraints in combination with other behaviors. |
| CrowdDemo.py | Example of crowds with steering and locomotion. |
| EventDemo.py | Example of how to connect events to animations, then respond to those events via scripting interface. |
| FacialMovementDemo.py | Example of using the facial animation system. |
| GazeDemo.py | Example of using the gaze capability. |
| GesturesDemo.py | Example of how to use the gesturing capability. |
| HandSynthesisDemo.py | Example of using the hand configuration engine which generates finger motion on top of gestures. |
| HeadDemo.py | Example of how to control a character's head. |
| LocomotionDemo.py | Example of using the locomotion system. |
| OgreCrowdDemo.py | Example of using a crowd of character's with the Ogre Sinbad character. |
| OgreDemo.py | Example of using the Ogre Sinbad character with a number of capabilities: locomotion, gazing, etc. |
| OnLineRetargettingDemo.py | Example of how to retarget motion from one character to another in real time. |
| PerlinNoiseDemo.py | Example of adding noise to motion. |
| PhysicsDemo.py | Examples of using character physics in various ways (ragdolls, motion tracking, etc.) |
| ReachDemo.py | Example of reaching/grabbing/touching capability |
| SaccadeDemo.py | Example of saccadic eye motion |
| SpeechDemo.py | Example of text-to-speech capability and lip syncing (requires running the speech relay and installation of ActiveMQ service) |
| SteeringDemo.py | Example of using steering with locomotion, including dynamic and static obstacle avoidance |
Using Messaging: The Virtual Human Messaging System
SmartBody can communicate with other applications over a network using a messaging system called the Virtual Human Messaging system (VHMSG). The VHMG system uses an asynchronous transport framework called ActiveMQ, which in turn operates over TCP/IP. Thus, in order to use VHMSG you need to either install an ActiveMQ server or connect to an existing one. ActiveMQ is free and can be downloaded from http://activemq.apache.org/. Note that SmartBody will function properly without an ActiveMQ server installed. However, some functionality (such as real-time text-to-speech) requires asynchronous communication over the VHMSG bus.
Messages are typically sent by specifying the component that
Running sbgui on the Command Line
The following command line arguments can be used with sbgui:
| Argument | Description |
|---|---|
| -scriptpath | Path containing scripts to be initially loaded |
| -script | Initial script to run. If not specified, runs default.py. Note that if a script is specified, SmartBody will run in headless mode (no user interface). To run the user interface, add the following Python commands to the top of the script: getViewer().show() # shows the user interface window getCamera().reset() # resets the camera to the default location |
| -mediapath= | Media path for the application. The media path determines the prefix by which all subsequent paths are added. For example, if the media path is: /my/application, then specifying a relative directory for some file parameter, such as 'myfiles', results in the mediapath being added to it. In other words, the final path will be: /my/application/myfiles |
| -host= | Name of host to connect to using the BoneBus interface. If not specified, the BoneBus will not be launched on startup. |
| -fps= | Throttle used to limit the fps of the application. If this parameter is not specified, the application will run as fast as possible. |
| -procid= | identitifier of SmartBody instance. When running multiple SmartBody instances simultaneously, this distinguishes one from another. |
| -noeditor | Hide the outliner and attribute windows so that only the rendering screen is shown. |
| -maximize | Maximize the window to fill the screen. |
| -name | Change the name of the window title. By default it is "SmartBody". |
| -renderer | Sets the system renderer. Default is 'custom'. other option is 'ogre'. |
| -x, -y, -w,-h | sets the x or y position of the window, as well as the width (w) or height (h) of the window |
The sbgui application will read a file called .smartbodysettings which will contain a number of configuration paths for various components that SmartBody uses:
mediapath=../data
pythonlibpath=../Python27/Lib
ogrepath=../OgreSDK
speechrelaycommand=start TtsRelayGui.exe
renderer=ogre
All paths are relative to the location of the sbgui exectutable. mediapath indicates the media path. pythonlibpath indicates the location of the Python libraries. ogrepath indicates the location of the Ogre support files. speechrelaycommand indicates the launching instruction for the speech relay. renderer indicates whether to use the built-in renderer (custom) or the Ogre renderer (ogre).
If no arguments are given to sbgui, an empty scene will be shown. To load a scene, choose the File -> Load from Script... menu option. Any Python (.py) file that contains SmartBody commands can be used. By using the File->Load from Script... menu option, anything that currently exists in the SmartBody scene will be removed before the commands in the file are run. Below are some example commands that can be used to run the contents of another file:
scene.addAssetPath("script", "data/examples")
scene.run("AddCharacterDemo.py")
The first command tells SmartBody where to find a folder/directory that contains scripts to be run, while the second command tells SmartBody to run the AddCharacterDemo.py script that will be found in one of the paths already specified.
In some cases, GPU skinning will not be available, in which case you can use the CPU-based software skinning, which results in slower performance via View-> Character->Deformable Geometry. Note that pawns are represented as red spheres.
Adding Assets to the Scene
Various assets, such as skeletons, motions and models can be added to the scene. There are several ways to add assets:
- Use drag-and-drop from the file system to the Resource Viewer (the window that contains the tree showing the objects in the scene on upper-left hand side of the application)
- Use Python commands to load specific data files or folders.
- Use drag-and-drop to load a model, skeleton, or character into the 3D scene.
To add an asset via Python commands, use the following syntax:
scene.addAssetsFromPath("path/to/my/data")
Adding Models to the Scene
Models can be added to the scene by attaching geometry to a pawn. You can set the 'mesh' attribute on a pawn via the Resource Viewer (Window->Resource View, click on pawns, select the pawn, then in the Attribute Editor (window in the lower left hand side) enter the path to the COLLADA/.dae or .obj file). Additionally, the 'meshScale' attribute can be used to scale the geometry. This can also be accomplished through Python:
mypawn = scene.getPawn(pawnName)
mypawn.setDoubleAttribute("meshScale", .2)
mypawn.setStringAttribute("mesh", "/path/to/geometry/file.dae")
Camera Control
| Control | Behavior |
|---|---|
| ALT + Right Click | dolly |
| ALT + Shift + Right Click | zoom |
| ALT + Middle Click | pan |
| ALT + Left Click | rotate |
Also, the following menu choices are available:
| Menu | Action |
|---|---|
| Camera->Save Camera View | Saves the current camera view |
| Camera->Load Camera | Changes the current camera to that of a previously saved view |
| Camera->Delete Camera | Removes a previously saved camera view |
| Camera->Reset | Restore the camera to its default position |
| Camera->Frame All | Adjust the camera so that all cameras and pawns are visible to the camera |
| Camera->Frame Selected Object | Frames the camera on the currently selected object |
| Camera->Face Camera | Place the camera so that the selected character's face appears. If no character is selected, this option will have no effect. |
| Camera->Character Cone Sight | Shows the scene from the perspective of the selected character. |
| Camera->Track Character | If a character is selected, maintain the relative position between the camera and the character, and follow the character when it moves. This can be used to keep a character in the cameras view while it is moving, without having to manually adjust the camera. To remove the tracking, select this option again. If no character is selected, this option will have no effect. |
| Camera->Rotate Around Selected | Rotates the camera around the selected object |
| Camera->Modes->Default | Camera stays fixed until explicitly moved |
| Camera->Modes->Free look | |
| Camera->Modes->Follow renderer | When used as a debugger of another running SmartBody instance, track the position of the camera in the other instance |
| Camera->Take snapshot->... | Starts the recording of a screen to a specified folder. Select again to stop recording. Useful for recording animated sequences. |
Selecting and Positioning Characters
A character or pawn can be selected by either 1) left-clicking on the character in the 3D scene, or 2) Choosing the character's name under the Characters list in the Resource Viewer. This will cause a manipulator to appear at the character's root joint, which may vary in location on the character (sometimes the root joint is on the ground, other times it is in the middle of the character). The manipulator either shows a bounding box, a translation widget, or a rotation widget:
| Manipulator Mode | Key |
|---|---|
| Selection | q |
| Translation | w |
| Rotation | e |
A character or pawn can be manually positioned by selecting one of the manipulator handles via a Left Click and then dragging the manipulator handles character to the new location. To rotate the character or pawn, select the object, press 'e', then adjust the manipulator handles.
Note that only the root/base joint can be altered interactively.
Controlling Characters
Characters can be controlled either by sending Python commands, or by using the BML Creator. Commands can be sent interactively through the Command Window, or through the VHMessage system using an 'sb' command.
In addition, characters can interactively move by first selecting the character, then right-clicking on the desired location, if they have the locomotion behavior.
Changing Lights
The default scene automatically places two directional lights, one which is rotated 135 degrees along the z-axis, and one rotated negative 135 degrees around the z-axis. The purpose of these automatic lights is to provide some initial lighting of a scene.
If you want to create and position your own lights in the scene, sbgui considers any pawns that start with the name 'light' (such as light0, light1, etc.) to be a light. Lights can be created either via scripting, or through the Create->Light menu option. Once a light is added to the scene, the default lights will no longer be present.
| Attribute | Description |
|---|---|
| enabled | boolean. Whether the light is enabled or disabled. Default is True |
| lightIsDirectional | boolean. Is the light a directional light? Default is True |
| lightDiffuseColor | vec3. Diffuse light color. Default is (1, .95, .8) |
| lightAmbientColor | vec3. Ambient light color. Default is (0, 0, 0) |
| lightSpecularColor | vec3. Specular light color. Default is (0, 0, 0) |
| lightSpotExponent | double. Spotlight exponent. Default is 0 |
| lightSpotDirection | vec3. Spotlight direction. Default is (0,0,-1) |
| lightSpotCutoff | double. Spotlight cutoff angle. Default is 180 |
| lightConstantAttenuation | double. Constant attenuation. Default is 1 |
| lightLinearAttenuation | double. Linear attenuation. Default is 1 |
| lightQuadraticAttenuation | double. Quadratic attenuation. Default is 0 |
| lightCastShadow | boolean.Whether this light casts a shadow. Default is true |
| lightShadowMapSize | integer. Size of the light's shadow map. Default is 1024 |
Other Controls
| File->New | Resets SmartBody to run a new simulation. All objects will be removed. |
| File->Load from script | Loads a SmartBody scene from a Python (.py) file. The existing scene will be reset. |
| File->Save to script | Saves the SmartBody configuration to a .py file. Note that the state of the simulation (including behaviors) will not be saved, but the setup information (characters, pawns, positions, orientations, asset paths, blends, face definitions, joint maps, lip sync information, camera positions) will be saved. |
| File->Run Script... | Runs the contents of a Python script. The scene will not be reset (in contrast to the 'Load from script' choice) and commands from the script file will be added to the scene. |
| Export Scene | Saves out particular scene elements (such as characters, pawns, joint maps, etc.) to a .py file |
| Import folder | Loads the contents of a previously saved folder, running the initScene.py file. |
| File->Remote Quick Connect | Connects to the first found another running instance of SmartBody. |
| File->Remote Connect | Connect to another running instance of SmartBody. The objects in the scene in the remote SmartBody instance will be displayed in the window. |
| File->Remote Disconnect | Disconnect from a remote running instance of SmartBody. |
| File->Quit | Exit the sbgui application |
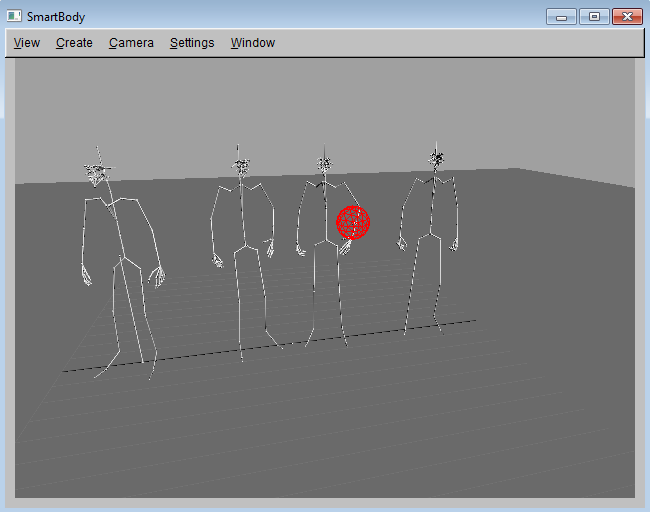
| View->Character->Bones | Show the character bones and joints |
| View->Character->Geometry | Show any rigid geometry bound to the character |
| View->Character->Collision Geometry | Show any rigid geometry bound to the character used as a collision surface |
| View->Character->Skin Weight | Visualizes the smooth binding information from the mesh to the skeleton |
| View->Character->Deformable Geometry | Show character mesh using software-based skinning |
| View->Character->GPU Deformable Geometry | Show character mesh using GPU-based skinning (much faster than software-based skinning, but may not work on older video cards) |
| View->Character->Axis | Show the orientation of the character's joints. |
| View->Character->Eyebeams | Show a line segment extending from the character's eyes in the direction of the gaze |
| View->Character->Gaze Limits | Shows the gazing joint limitations for a selected character |
| View->Character->Bounding Volumes | Displays the bounding volumes for the characters. |
| View->Character->Show Trajectory | Shows a yellow line for the position of the character in the recent path. |
| View->Character->Show Gesture | Shows the gesture phases for a selected gesture |
| View->Character->Show Joint Labels | Shows the name of the joints on a selected character |
| View->Show Selected Object | Shows or hides the bounding box information around the selected object |
| View->Pawns | Toggles pawn display on and off |
| View->Show Cameras | Shows or hides cameras in the scene |
| View->Show Lights | Shows or hides lights in the scene |
| View->Shadows->Shadow Map | Toggles shadows using shadow maps on and off |
| View->Shadows->Stencil Shadow | Toggles shadows using stencil shadows on and off |
| View->Shadows->Disable Shadow | Disables shadows. |
| View->Grid | Toggles the grid on and off |
| View->Background Color | Change the background color of the scene |
| View->Floor->Show Floor | Show the floor, which can be used for drawing shadows |
| View->Floor->Floor Color | Change the color of the backpack |
| View->Terrain->Shaded | Show the terrain in shaded mode |
| View->Terrain->Wireframe | Show the terrain in wireframe mode |
| View->Terrain->No Terrain | Hide any terrain |
| View->Navigation Mesh->No Mesh | Hide any navigation meshes in the scene |
| View->Navigation Mesh->Show RawMesh | Show the navigation mesh in its raw form |
| View->Navigation Mesh->Show NaviMesh | Show the navigation mesh |
| View->Steer->Characters and Goals | Shows debugging information about the steering: characters and their current goals |
| View->Terrain->Shaded | Shows any terrain as set of polygons |
| View->Terrain->Wireframe | Shows any terrain as a wireframe |
| View->Terrain->No Terrain | Hides any terrain data |
| View->Steer->All Steering | Shows debugging information about the steering: characters, goals, obstacles, facing direction |
| View->Steer->No Steering | Hides all debugging information about the steering |
| Create->Character... | Creates a character of a specified name. You have to choose the skeleton to associate with the character. |
| Create->Pawn | Creates a pawn with a given name. |
| Create->Pawn from model... | Creates a pawn and assigns the selected model/mesh to that pawn. |
| Create->Light | Creates a light. Lights are pawns with the name 'lightN' where 'N' is the light number. |
| Create->Camera... | Creates a camera in the scene |
| Create->Terrain | Loads a terrain as a heightfield from a .ppm file |
| Create->Delete Object | Removes an object from the scene. |
| Create->Delete Selected Object | Removes the selected object from the scene. |
| Settings->Set Resolution->Default | Returns the scene into the default resolution |
| Settings->Default Media Path | Sets the default media path which persists between scenes |
| Settings->Internal Audio | Toggle SmartBody's ability to respond to sound playing commands. |
| Window->.... | Launch the various windows, detailed below |
| Help->About | Shows information about the current build of SmartBody, including release number. |
| Help->Documentation | Launch a web player to see the documentation online |
| Help->Create Python API | Saves the Python API to an HTML file. |